How to Measure Burr Height, Edge Change and Ra After Deburring Jul 31, 2026

How to Measure Burr Height, Edge Change and Ra After Deburring

A finishing trial is difficult to approve when “looks smoother” is the only result. Burr removal, edge preservation and surface texture are different questions, so they need separate checks. This practical measurement plan helps buyers and suppliers compare incoming parts with trial samples without inventing a universal acceptance limit.

Technical infographic explaining roughness and visual quality-control checks

Conceptual measurement workflow. The drawing does not represent a measured customer result.

Start with the drawing and the functional risk

Mark the features that affect fit, sealing, coating, assembly or handling. A burr at a cross-hole may need a height check; a functional edge may need radius or profile comparison; a sealing face may need a specified surface-texture parameter. Do not replace the drawing requirement with a generic “polished” target.

Keep three questions separate

1. Is the burr still present?

Use a defined viewing direction and a repeatable optical or profile method. Record the feature location, magnification or instrument, lighting, fixture and whether the result is a maximum reading, a profile value or a pass/fail visual rule. Photograph the same feature before and after the trial when practical.

2. Has the edge changed?

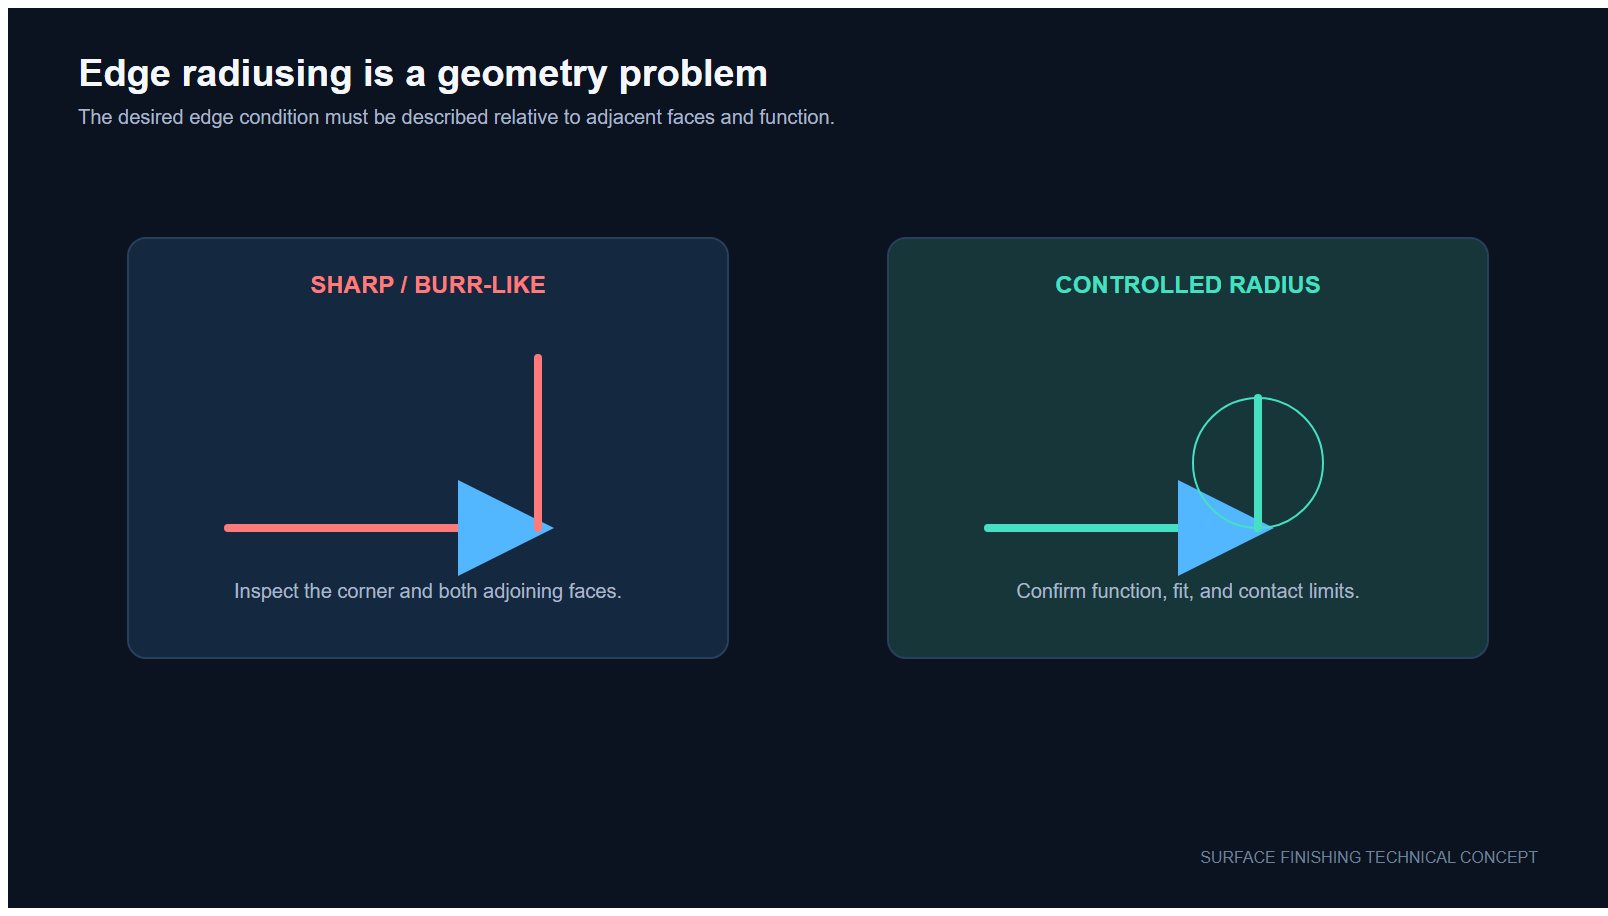
Measure the edge where function requires control. Depending on the drawing and access, this may be an edge radius, chamfer dimension or profile comparison. Record the datum, section or inspection plane so the next sample is measured in the same place. Surface roughness cannot substitute for this geometry check.

3. Has the surface texture changed?

Report the specified parameter, such as Ra or another drawing-defined profile parameter, together with the instrument and method settings. NIST documentation shows that stylus geometry, filtering, sampling and calibration affect a surface-profile measurement. Keep the method and measurement direction consistent between the incoming and processed samples.

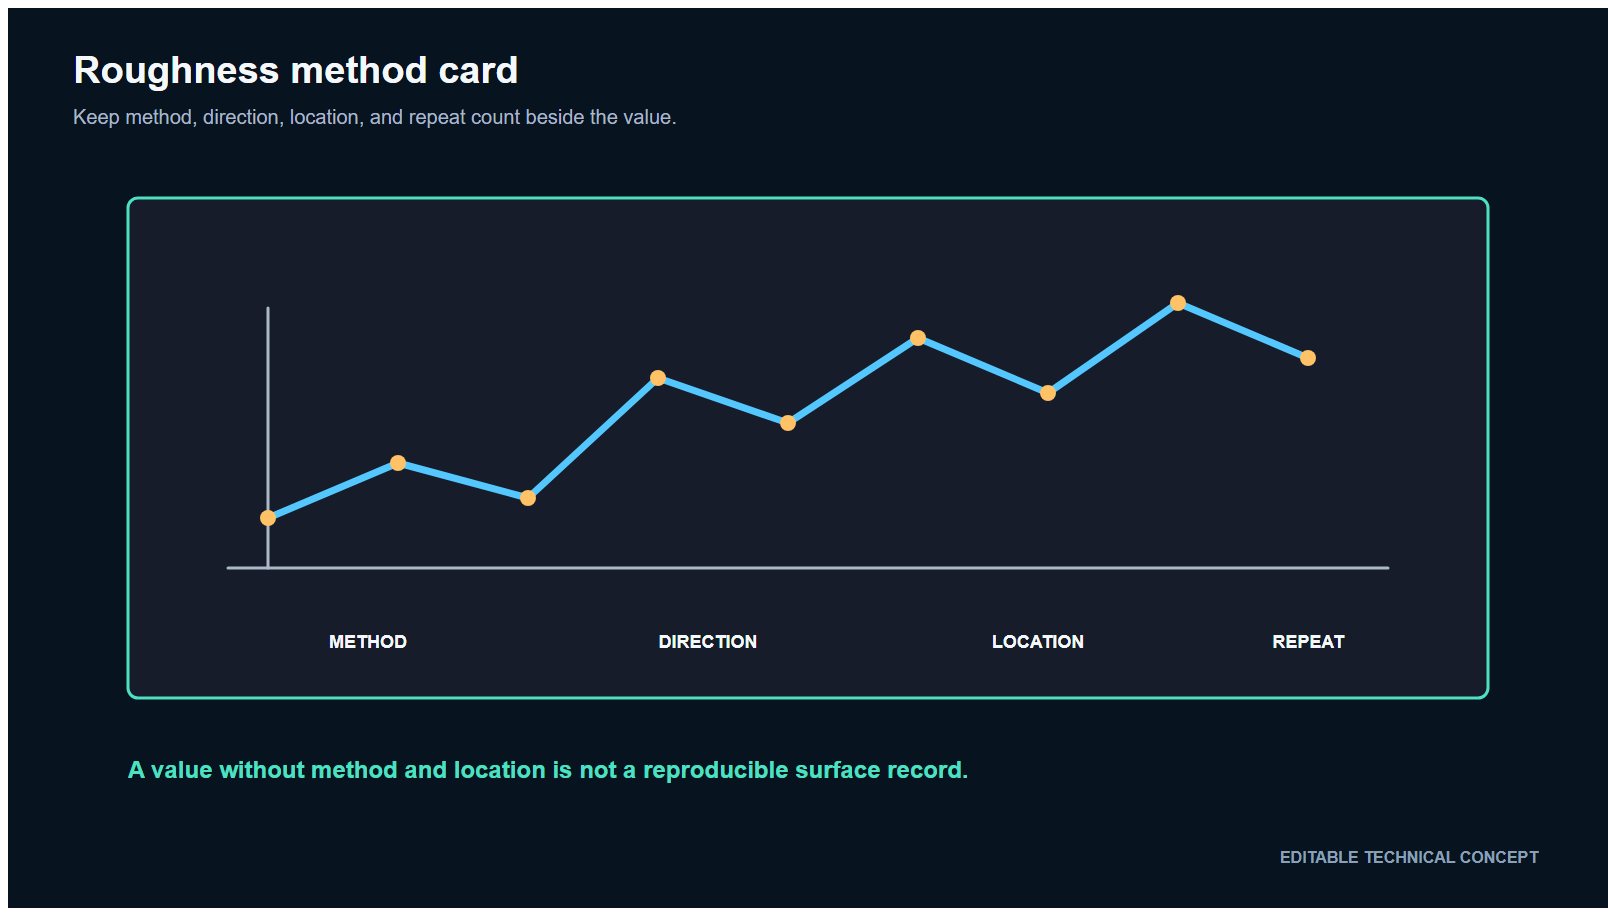
Technical infographic showing the fields of a surface roughness method card

Record the method with the number; do not compare isolated readings from unknown settings.

Build a measurement card before the trial

Field What to record Why it matters
Part and feature Part ID, drawing revision, feature ID and inspection location Prevents measurements from drifting to an easier area
Incoming condition Burr direction, visible damage and baseline readings Separates process change from incoming variation
Burr method Optical/profile method, fixture, direction and reporting rule Makes the residual-burr decision repeatable
Edge method Radius, chamfer or profile method and datum Checks whether functional geometry was preserved
Texture method Parameter, instrument, tip or optical method, filter/cutoff, evaluation length and direction Lets before-and-after texture readings be compared
Sampling Number of parts, locations per part and handling rule Avoids approving a batch from one convenient point
Decision Drawing limit or agreed trial criterion, result and disposition Creates an auditable release record

Do not mix measurement methods without correlation

NIST comparisons show that optical and stylus roughness measurements can disagree on some surfaces. If the incoming part is measured with one method and the trial sample with another, treat the difference as a method change until a correlation study shows otherwise. The safest supplier comparison uses the same verified instrument family, settings, direction and locations.

Use witness samples and fixed locations

Retain an identified incoming sample and an approved processed sample when the program allows it. A fixture, marked inspection zone or drawing callout helps the supplier return to the same location. For complex parts, use a small feature map rather than averaging unrelated faces.

Technical infographic illustrating an edge-radiusing measurement concept

Edge change is a geometry question and should be checked independently from surface texture.

Connect measurement to the finishing trial

Record the machine family, media, compound, water condition, load, time and inspection interval with the measurement result. The mass-finishing sample trial record provides a worksheet for this context. For wet-process variables, use the water and compound control trial method. Buyers still selecting equipment can review the vibratory finishing machine guide.

Send a useful sample-trial brief

Before shipping parts, provide the drawing revision, incoming condition, protected features, required measurement method and the acceptance rule. If the method is not yet fixed, ask the supplier to propose a trial measurement card for approval before processing.

Need a documented finishing trial? Send the part material, geometry, incoming burr condition and drawing-based inspection requirements. The trial plan should be confirmed against the real part before any process result is promised.

References

#+86-592-2381506

Eメール : info@surface-polish.com

本社住所 : No. 31, Xinchang Road, Xinyang Industrial Zone, Haicang District, Xiamen

メッセージを残すにはここをクリックしてください

伝言を残す
当社の製品に興味があり、詳細を知りたい場合は、ここにメッセージを残してください.できるだけ早く返信します.

製品

whatsapp

コンタクト